
When Your Cart Should Be Ready—and When a Long Charge Means Trouble
Expect roughly 6–12 hours for a deeply discharged lead-acid cart and 2–6 hours for many lithium systems; a routine top-up may finish sooner.
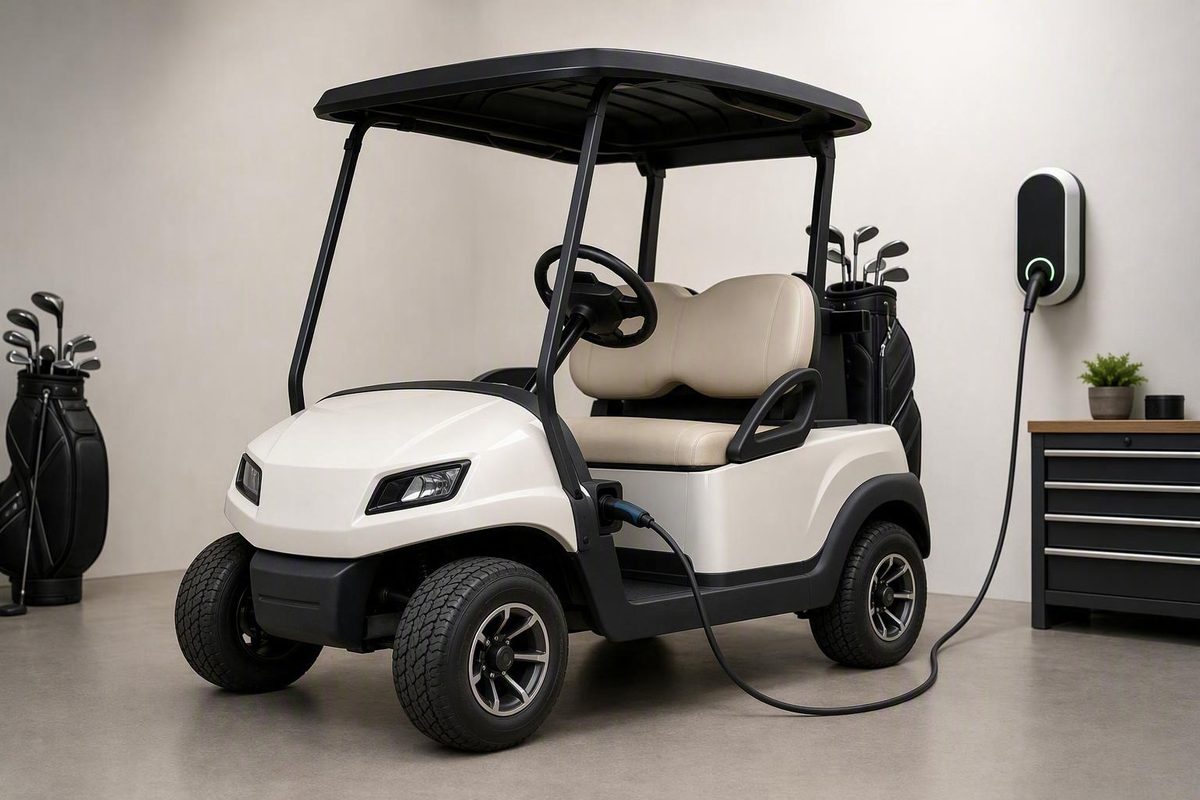
Allow roughly 6–12 hours for a deeply discharged lead-acid golf cart, with 8–10 hours a useful planning rule. Many lithium systems need about 2–6 hours. These figures are broad estimates from commercial repair, dealer, charger, and charging-provider guidance—not specifications for every cart (Pete’s Golf Carts; WiTricity). A routine top-up may finish in only a few hours because there is less energy to replace.
Capacity, starting charge, charger output, temperature, battery condition, connections, and the final charging stage can all change the result. If the manuals for your cart, battery, or charger specify a different time or procedure, follow them.
The short answer: typical golf cart charging times
| Charging situation | Broad planning estimate | Practical window |
|---|---|---|
| Deeply discharged lead-acid pack | About 6–12 hours | Reserve an overnight window |
| Many lithium packs | About 2–6 hours | Reserve several hours |
| Large lithium pack or modest-output charger | About 5–7 hours | Reserve 5–7 hours plus a scheduling buffer |
| Routine top-up after moderate use | Often a few hours | Compare with previous top-ups |
Commercial guidance places depleted lead-acid packs at 6–12 hours, while estimates for lithium commonly range from 2–6 hours, depending on the pack and charger. One repair provider gives an 8–10-hour rule for typical lead-acid configurations, while another dealer estimates 2–4 hours for some partial top-ups (Canyon Lake Mobile; Hartville Golf Carts).
Do not apply an empty-to-full figure to every session. If you plug in after a round with substantial charge remaining, the charger has less energy to replace. Larger lithium packs are not automatically quick, either: commercial examples put some packs of 160Ah or more at 5–7 hours when paired with specified chargers. Check the installed battery and charger rather than relying on chemistry alone.
What actually determines charging time
The main variables, roughly in order, are:
- Battery chemistry. Lead-acid and lithium batteries use different charging profiles.
- Energy or amp-hour capacity. A larger pack contains more energy to replace.
- Starting state of charge. A nearly empty pack needs longer than one used for a short trip.
- Charger DC output. More charging current can reduce the main charging period when the battery system can accept it.
- Battery age and condition. A weak cell, sulfation, imbalance, or deterioration can change charging behavior.
- Temperature. The battery or BMS may restrict charging under hot or cold conditions.
- Connections. Loose, corroded, worn, or heat-damaged connections can interfere with charging.
Pack voltage alone does not answer the question. Two carts labeled 48V may have different amp-hour capacities, chemistries, charger outputs, and charging algorithms. One can therefore take several hours longer than the other.
A higher-amperage charger is not a universal shortcut. The battery, lithium battery-management system (BMS), wiring, connector, cart, and charging profile must all be designed to accept the output. A mismatched charger can undercharge or overcharge the pack or trigger BMS faults, so both voltage and chemistry must match the battery system (Bolt Energy).
Likewise, connecting a charger to a 240V wall supply does not inherently make the cart charge faster. Charging time is governed by the charger’s rated DC output to the battery, not wall voltage by itself. A charger may accept different AC inputs while delivering the same maximum DC output (Canyon Lake Mobile).
Charging behavior also changes near completion:
- Lead-acid: The charger generally reduces current during the absorption or tapering stage instead of supplying peak current until shutoff.
- Lithium: The pack may accept substantial current through much of the cycle and then slow while the BMS manages the final stage and cell balancing.
This is why progress can slow near the end even when the charger is working normally.
Estimate the charging window for your own cart
Start with this five-item worksheet:
| Item | Where to look |
|---|---|
| Battery chemistry | Battery label and battery manual |
| Pack voltage | Cart specification plate, battery layout, or manual |
| Amp-hour capacity | Battery label or data sheet |
| Charger DC amperage | Charger output label—not AC wall-input amperage |
| Approximate starting charge | Cart gauge, BMS display/app, or measured state of charge |
Verify the labels against the applicable manuals, especially if the cart has been converted to lithium or fitted with an aftermarket charger. The original cart manual may no longer describe the installed power system.
For a rough theoretical estimate:
- Estimate the percentage of capacity that must be replaced.
- Multiply that percentage by the pack’s amp-hour capacity.
- Divide the resulting amp-hours by the charger’s rated DC amperage.
Consider a hypothetical 100Ah pack that is approximately 50% discharged. About 50Ah must theoretically be replaced. With a 10A charger:
50Ah ÷ 10A = 5 hours
That is a constant-current minimum, not a promised completion time. It does not account for conversion losses, lead-acid tapering, lithium balancing, temperature restrictions, charger programming, or BMS current limits. Capacity, discharge depth, and charger output are useful starting points, but actual charging takes longer when the system cannot maintain rated current throughout the cycle.
Published equipment combinations can be useful as scheduling references, but only if their assumptions are clear. For example, one commercial guide lists a 48V 105Ah lithium pack at 4–6 hours with a matched 13–18A charger. Use the actual battery and charger documentation for model-specific planning.
Most importantly, compare like with like. An after-round top-up should be compared with previous after-round top-ups under similar conditions—not with an empty-to-full benchmark.
A normal charging routine for lead-acid and lithium carts
For lead-acid batteries, recharge after use rather than deliberately running the pack empty. Lead-acid batteries do not need to be fully discharged first. Trojan recommends charging after each period of use and notes that battery type, charger technology, cabling, load, and climate may require system-specific procedures.
Lithium batteries also permit partial recharging and do not need to be run empty before charging. Use the battery manufacturer’s procedure rather than carrying lead-acid habits over to a lithium system.
In every case, the charger must match:
- the pack voltage;
- the battery chemistry;
- the permitted charging current;
- the required charging profile; and
- any cart or BMS communication requirements.
This is especially important after a lithium conversion. Do not assume that the old lead-acid charger is suitable merely because its nominal voltage matches. Use it only if the battery manufacturer expressly approves that charger or its selectable profile.
Overnight charging is conditional. It may be appropriate when a functioning automatic charger is approved for the exact battery system and the cart, charger, and battery manuals permit overnight operation. An automatic charger may stop or change modes when charging is complete. A manual charger requires closer supervision.
“Automatic” does not mean that every charger can remain connected indefinitely. Inspect cords, keep charging equipment dry, allow required ventilation, and follow the manufacturer’s monitoring and storage instructions. Fire-safety guidance warns against prolonged unmonitored charging and recommends keeping chargers away from rain, standing water, and heat-trapping materials (Useppa Island Fire Department).
When a long charge becomes a troubleshooting clue
Your cart’s history is the best first comparison. If the same pack usually finishes in eight hours after similar use and at a similar temperature but now runs well beyond that, the change matters more than whether the new time overlaps a broad online range.
Work through the system in this order:
- Verify wall power. Check the outlet, breaker, fuse, and required charger indicators.
- Confirm compatibility. Verify the charger’s output voltage, battery chemistry, and approved charging profile.
- Inspect plugs and connections. Look for loose terminals, corrosion, worn connectors, damaged insulation, or signs of heating.
- Consider temperature. Hot or cold conditions can change what the charger or BMS permits.
- Check battery condition. Aging batteries, a weak cell, imbalance, or lead-acid sulfation can increase charge time or reduce usable range.
- Review charger or BMS indications. Use the correct manual to interpret lights, error codes, app messages, or protection modes.
| Outcome | What it may mean | Next move |
|---|---|---|
| Completes in its normal window and range is normal | Likely routine operation | Continue tracking charge time |
| Takes substantially longer than usual | Battery, connection, temperature, charger, or BMS issue | Follow the checks above and test the pack |
| Stops early but range is poor | Incomplete charge, weak capacity, imbalance, gauge error, or protection event | Test the batteries and use manual-specific diagnostics |
| No charging response | Lost power, tripped protection, incompatible charger, connector fault, deeply discharged pack, or BMS state | Trace power and indications in order |
A fault or protection event can end charging, while an aging pack may reach the charger’s termination point without storing its former usable energy. Battery testing and manual-specific diagnostics are the next steps.
Commercial troubleshooting guidance identifies aging batteries, weak cells, lead-acid sulfation, loose or corroded connections, charger faults, extreme temperatures, and lithium BMS communication problems as possible causes of slow charging. These are possibilities to test, not proof that a specific component has failed (FORM Charge).
Do not buy a charger or battery pack because one cycle ran long. Confirm power, compatibility, connections, temperature, charger indications, and battery condition first.
Charge safely: different batteries need different precautions
Before charging:
- Switch the cart off, secure or remove the key, and set the parking brake.
- Use a dry charging location with the ventilation required by the equipment.
- Inspect the charger cord, plug, cart receptacle, and visible cables.
- Keep the charger away from water and materials that trap heat.
- Follow the cart, battery, and charger manuals.
- Do not use visibly damaged charging equipment.
These checks are consistent with fire-service guidance to inspect cords, keep chargers dry, provide ventilation, and keep heat-absorbing materials away from charging equipment (Useppa Island Fire Department).
Flooded lead-acid batteries: Charge in a well-ventilated area and keep sparks, flames, and cigarettes away because flooded batteries can release hydrogen while charging. Make the final water-level adjustment after a full charge. If the plates are exposed beforehand, add only enough distilled water to cover them, then complete the battery manufacturer’s procedure.
Do not apply flooded-battery watering procedures to AGM or other sealed lead-acid batteries. Trojan distinguishes flooded batteries from AGM designs; consult the sealed battery’s manual for its charging, inspection, and storage procedure.
Lithium batteries: Use a compatible charger with the voltage, current limits, and charging profile specified by the battery manufacturer. Follow that manufacturer’s permitted charging-temperature range rather than applying one generic limit to every pack. BMS behavior and temperature protection vary by model.
Keep clear and contact emergency services or qualified help as appropriate. Battery-vendor guidance identifies swelling, heat, and unusual odors as warning signs, while fire-service guidance warns that overheated batteries can combust.
For planning, reserve an overnight window for a deeply discharged lead-acid cart and several hours for many lithium carts. Treat the cart’s established baseline and exact equipment manuals as more authoritative than a generic range. If charging suddenly takes much longer, check power, compatibility, connections, temperature, and battery condition before replacing parts.