
Choose a Golf Cart Battery Mount by Tray, Battery and Hold-Down Design
Identify the right golf cart battery tray, hold-down or lithium bracket, check damage and fit, and use the correct mounting torque.
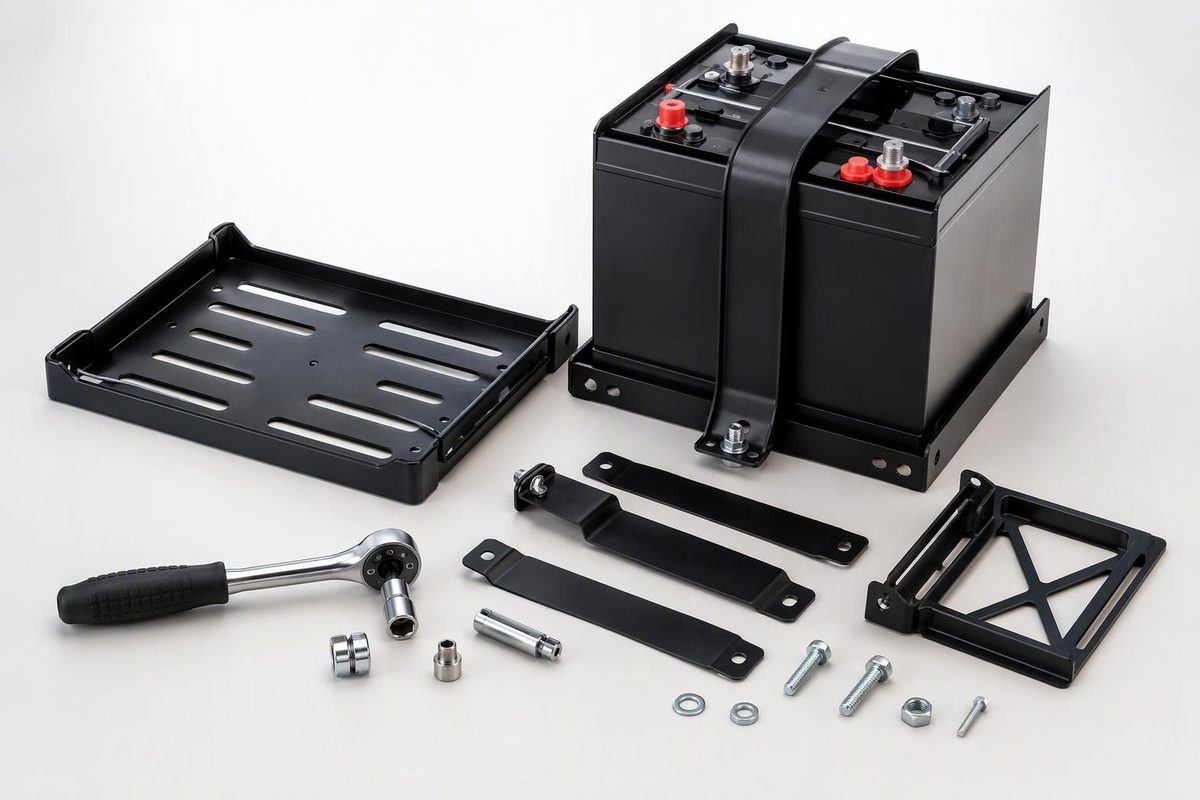
Choose a battery mount by the cart’s exact model and battery layout—not by pack voltage alone. First identify whether you need the supporting tray, the hold-down that restrains the batteries, or an adapter for a different battery case. A new clamp will not fix a damaged anchor beneath it.
This guide focuses on electric-cart traction batteries. If you have a gas cart, identify its starter-battery mounting parts separately; do not order an electric pack’s hold-down based only on the cart’s model name.
Identify which mounting part has failed
“Battery mount” can describe several parts:
| Part | What to inspect |
|---|---|
| Tray or rack beneath the batteries | Cracks, deformation, corrosion and damaged attachment points |
| Hold-down, retainer or top plate | Missing pieces, cracks, bending or incorrect contact with the battery case |
| J-bolts, rods, nuts and washers | Damaged threads, missing hardware and hooks that no longer engage their anchors |
| Lithium mounting adapter | Compatibility with both the cart’s mounting points and the exact battery enclosure |
These are not interchangeable names for one universal part. For example, E-Z-GO’s RXV electric owner’s guide 646285, labeled “starting model year 2016,” shows different restraint assemblies for four 12V batteries and six 8V batteries—even though both arrangements make a 48V pack. See its battery-component diagram and installation instructions on pages 51–52. Source: E-Z-GO RXV owner’s guide
With the cart safely isolated, check whether the battery case moves relative to the tray, or whether the tray itself moves. Keep hands and tools away from terminals. If the tray, anchor or battery case is damaged, keep the cart out of service until assessed and repaired: tightening the top nut is not a repair for the structure underneath.
Check fit before ordering
Give the parts supplier these details:
- Cart make, model, model year and serial number.
- Electric or gas powertrain, plus the installed pack voltage.
- Battery brand/model, chemistry, quantity and layout.
- Photographs of the complete compartment, hold-down and lower anchors.
- Whether the tray and mounting hardware are factory parts or have been modified.
For a replacement hold-down, compare its span, contact locations, rod length, hook shape and supplied washers with the model-specific diagram. Measure the battery case and available height beneath the seat; include terminal covers and cable bends, not just the bare enclosure.
For lithium, match the enclosure as well as the cart. Eco Battery publishes separate installation guides for Thru-Hole and Skinny batteries, and separate Yamaha Drive guides for 2007–2010 and 2011 onward. That is a useful reason not to assume that “fits Yamaha” or “fits 48V carts” establishes mount compatibility. Source: Eco Battery installation guides
Ask the seller to confirm the mounting kit’s part number, required retained factory hardware and installation instructions before purchase. Do not substitute a bungee cord or improvised strap for the documented restraint assembly.
Replace the mount in this order
Use this sequence to plan the job, not as a substitute for the cart and mounting-kit instructions. If you cannot identify the correct disconnection procedure, anchor arrangement or torque specifications, stop and obtain them before removing hardware.
- Secure and isolate the cart. Park, set the brake, chock the wheels, disconnect charging equipment and follow the cart’s shutdown and battery-disconnection procedure. A Tow/Run switch is not a substitute for battery disconnection. Use protective eyewear, suitable gloves and insulated tools; remove jewelry. Photograph and label wiring before removing it. Eco Battery’s Club Car guide directs anyone who does not understand the procedure to seek professional installation. E-Z-GO also requires electrical loads to be disabled before battery wires are removed. Sources: Eco Battery Club Car installation guide, RXV owner’s guide
- Remove batteries if needed to expose the anchors. Use the lifting equipment specified for the batteries—not their cables. E-Z-GO calls for battery carriers and a portable lifting device for the RXV procedure. Source: RXV owner’s guide, pages 50–51
- Inspect the exposed support before installing new hardware. Remove corrosion and protect cleaned metal as the cart manual directs. A cracked tray, badly corroded support or damaged anchor needs assessment and repair before the batteries go back in. The RXV guide specifies cleaning corrosion around the tray, then priming and painting cleaned metal with corrosion-resistant paint. Source: RXV owner’s guide, page 51
- Seat the batteries and engage the anchors first. Reproduce the documented orientation. Confirm each J-hook is actually engaged with its specified tray slot or support rod before tightening; do not use the nut to drag a misaligned hook into place. The RXV instructions require secure engagement in the tray; Eco Battery’s cited Club Car installation uses a rod beneath the battery. Sources: RXV owner’s guide, page 52, Eco Battery Club Car guide
- Tighten the correct fastener to its specified torque. Then reconnect wiring and return the cart to its operating state in the documented sequence, using the separate terminal-torque specification.
Mounting torque is not terminal torque
There is no single “golf cart battery mount torque.” These documented examples show why identifying the assembly matters:
| Exact application and fastener | Specified torque |
|---|---|
| RXV guide 646285, four 12V batteries: J-bolt hold-down nuts | 62–80 in-lb |
| Same RXV guide, six 8V batteries: J-bolt retainer locknuts | 44–55 in-lb |
| Eco Battery 51V Thru-Hole installation in Club Car Precedent/Onward/Tempo, guide labeled 2004+: top mounting-plate nut | 10 ft-lb (120 in-lb) |
The RXV values come from E-Z-GO’s installation instructions; the lithium value comes from Eco Battery’s specific Club Car guide, which explicitly warns against overtightening. Other fasteners within those assemblies have different specifications. Do not transfer these numbers to another mount, or confuse inch-pounds with foot-pounds.
Before returning the cart to service, check that the batteries are restrained, every anchor is engaged, cables are neither stretched nor pinched, and the seat closes without contacting terminals or hardware. If movement remains at the specified torque, investigate fit or damage rather than tightening harder. If only a cable lug is loose while the battery case stays secure, follow the separate loose battery terminal guide.