
Choose a Golf Cart Solar Charger by Daily Energy, Not Panel Watts Alone
Size a golf cart solar battery charger, check boost-controller and battery compatibility, and estimate what a roof panel can realistically replace.
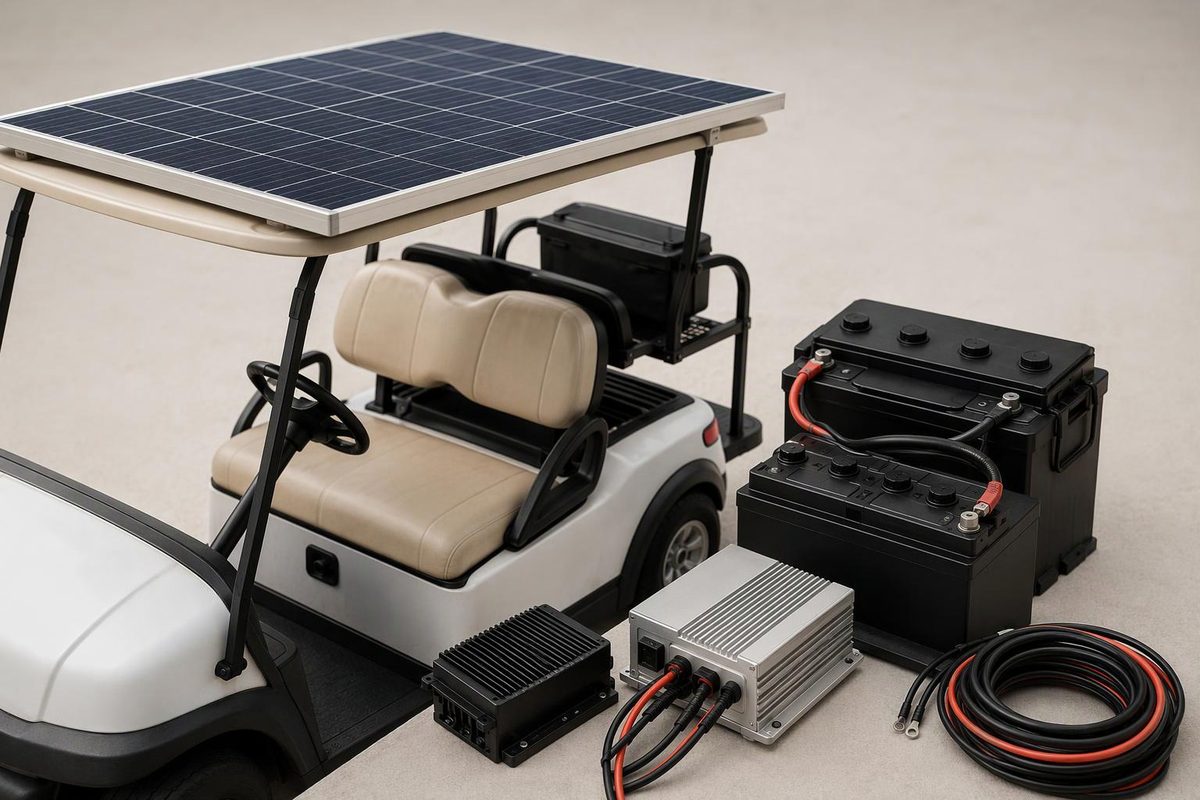
A golf cart solar battery charger can replenish energy while an electric cart sits in the sun. Whether it replaces plug-in charging depends on daily energy use, available sunlight and a controller matched to the installed battery pack—not just the wattage printed on the panel.
Treat a roof-mounted system as supplemental charging until its measured output covers your use. This guide concerns electric traction batteries, not a gas cart’s starter-battery maintainer.
Match the solar controller before buying the panel
The basic charging path is solar panel → solar charge controller → battery pack. Do not connect a bare panel directly to the batteries.
Write down the cart’s make, model and year, then identify the installed pack’s nominal voltage, chemistry and capacity. A converted cart may no longer have its factory battery system. A 12V solar maintainer is not a charger for a complete 36V or 48V traction pack.
Two controller checks matter:
- Panel-side compatibility: Can the controller accept the panel’s operating voltage, open-circuit voltage and current? Check operating current (Imp) and short-circuit current (Isc) separately against its specifications.
- Battery-side compatibility: Does its charging profile meet the battery manufacturer’s voltage, current, temperature and charge-completion requirements?
A low-voltage roof panel may need a boost controller
A step-down solar controller reduces a higher panel voltage to a lower battery voltage. A boost, or step-up, controller does the opposite, allowing a lower-voltage panel to charge a higher-voltage pack. “MPPT” alone does not establish that a controller can boost voltage. Sunforge explains this distinction for its GVB series.
For a concrete specification example—not a universal recommendation—the Genasun GVB-8-Pb-48V-WP lists:
| Specification | Manufacturer’s value |
|---|---|
| Battery application | 48V nominal lead-acid |
| Maximum recommended panel power | 350W |
| Rated panel input current | 8A |
| Maximum recommended panel operating voltage, Vmp | 43V |
| Maximum input voltage | 60V |
| Recommended maximum panel Voc at standard test conditions | 50V |
These are Sunforge’s specifications. The 8A rating is panel input current, not an 8A battery-charging promise. For comparison, converting 300W of panel power to an illustrative 58V charging voltage would yield about 5.2A before conversion losses.
Do not approve a panel by watts alone. Its voltage and current must also fit, and its open-circuit voltage rises in cold weather. The controller manual requires checking Voc at the coldest expected temperature.
Nominal pack voltage is not the charge profile
A “48V lead-acid” label does not prove suitability for every flooded, AGM or gel pack. Verify absorption voltage and duration, float settings and temperature compensation against the exact battery specifications. Trojan’s guidance distinguishes charging requirements by battery type and warns against both undercharging and overcharging.
For lithium, obtain written battery-supplier approval for the controller’s constant-voltage setting and permitted current. Confirm that the battery management system (BMS) can stop solar charging outside the cells’ allowed temperature, voltage or current range. Those are explicit checks in the Genasun lithium installation warnings.
If the battery supplier requires a proprietary charger or charging interface, stop before purchasing a direct-to-pack solar kit. Our 48V charger compatibility guide covers the wider cart-side fit checks.
Size solar by watt-hours per day
Use this planning calculation:
Daily energy delivered to the battery ≈ panel watts × peak sun hours × delivery factor
Peak sun hours represent equivalent full-strength sunlight, not the time between sunrise and sunset. Palmetto explains the distinction. Location, orientation and shading affect solar potential, as the Department of Energy notes. Use sunlight estimates for the panel’s intended orientation and the season you will operate the cart.
Here is an illustration, assuming four peak sun hours and 75% delivery after panel-output, controller and wiring losses:
| Panel rating | Calculated energy delivered per day |
|---|---|
| 100W | 300Wh / 0.30kWh |
| 200W | 600Wh / 0.60kWh |
| 300W | 900Wh / 0.90kWh |
The 75% factor is an illustrative allowance, not a tested golf-cart efficiency figure. Shade, roof angle, heat and weather can produce substantially different results. The calculation also assumes the battery can accept the available charging power; battery storage losses are additional.
For scale, a hypothetical 48V, 100Ah pack has about 4.8kWh of nominal energy. Replacing half of that is roughly 2.4kWh. At the illustrated 300W output, that represents about three solar days with no further driving, before additional battery losses and charge-completion time—not one afternoon.
To deliver 1kWh daily under the same assumptions, the calculation calls for about 333W: 1,000 ÷ (4 × 0.75). That is an energy-sizing result, not proof that a particular panel fits the roof or controller.
Choose the goal accordingly:
- Storage maintenance: Start with a fully charged pack and account for self-discharge plus any connected standby loads.
- Routine top-ups: Compare solar watt-hours with the energy used between charging opportunities.
- Solar-only operation: Require an energy budget for the least-sunny season you intend to use the cart, plus backup charging for poor-weather periods.
Check the installation and verify useful charging
Before approving a kit, ask the installer to confirm:
- Roof fit and mounting: Panel dimensions, weight, attachment method, wind loading and clearance for your cart and any transport arrangement.
- Approved pack connection: Charging across the complete pack, not one battery within a series string; retain all required BMS protection.
- Cable protection: Suitable cable routing, strain relief, weather protection and a fuse or breaker rated for the maximum DC voltage—not merely the nominal pack voltage.
- Controller placement: Follow its cooling and temperature-sensing requirements. The Genasun lead-acid version, for example, must be within one foot of the batteries and out of direct sunlight.
The Genasun installation manual also warns against energized connections and requires battery-side overcurrent protection close to the battery or distribution block. Its fuse amperage and connection sequence are model-specific; do not transfer them to another kit.
After installation, check the controller’s status and record daily charging energy if monitoring is available. A charging light shows activity, not that solar replaced yesterday’s driving energy. If the pack falls progressively behind, use the approved plug-in charger rather than waiting for several sunny days. Trojan recommends fully charging lead-acid batteries after use and avoiding extended low states of charge.