
How to Change Golf Cart Tires—and When to Use a Tire Shop
Follow a safe golf cart wheel-removal sequence, find the correct lug-nut torque, and know when bare-tire replacement needs a tire shop.
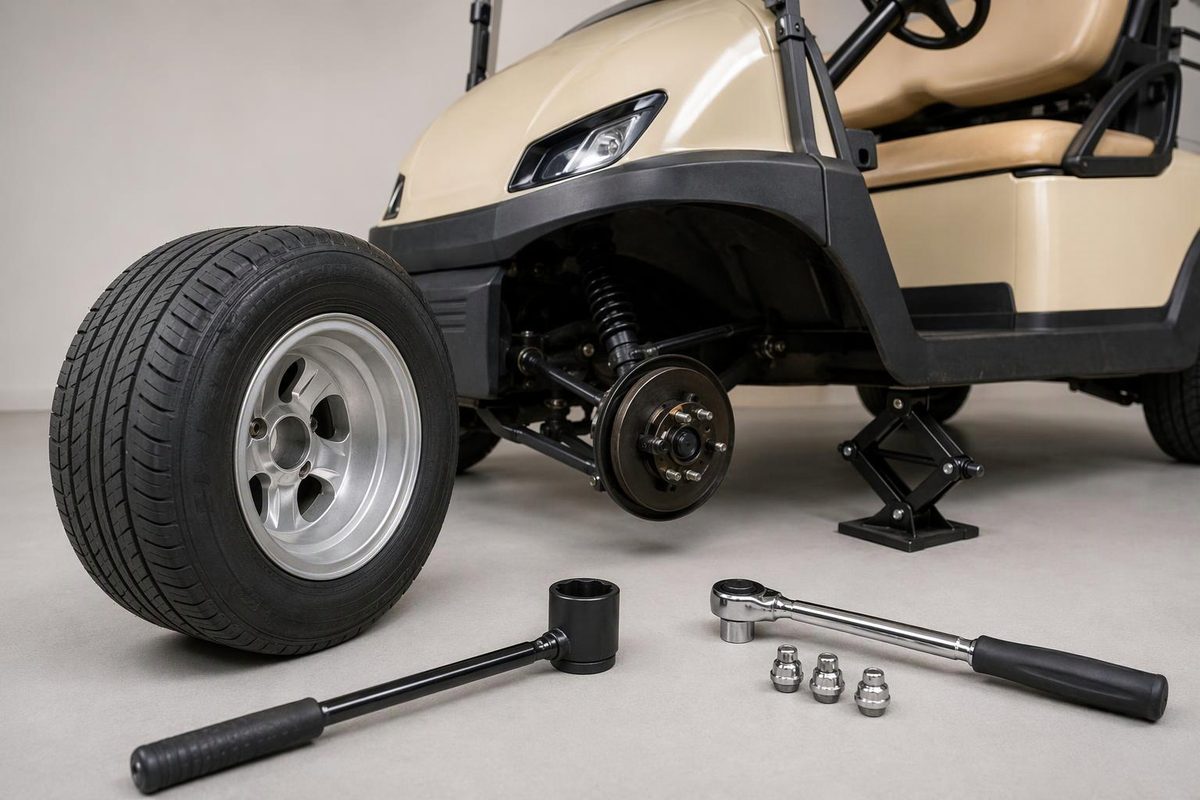
Changing golf cart tires can mean swapping a complete tire-and-wheel assembly or replacing the rubber tire on the existing wheel. Those are different jobs.
The sequence below covers removing and reinstalling a complete assembly. For bare-tire replacement, the E-Z-GO Express ELiTE manual requires a tire-mounting machine and a qualified tire center or authorized dealer. Removing the wheel yourself and taking it to the shop keeps that work separate from the cart-side job. E-Z-GO owner’s manual, pp. 30–31
Before you lift the cart
Identify the make, model, year and gas or electric powertrain. For an electric cart, also identify the installed battery system and voltage before following its power-isolation instructions. Do not assume a Club Car, E-Z-GO and Yamaha share lifting points, switch procedures or wheel torque.
Have these ready:
- The correct owner’s or service manual, including its lifting diagram.
- A jack and jack stands rated for the cart’s weight, plus wheel chocks.
- A correctly fitting impact-rated socket or lug wrench and a torque wrench covering the specified range.
- A tire-pressure gauge and the confirmed replacement assembly.
Check replacement fit before dismantling anything: approved tire size and type, wheel dimensions, bolt pattern, offset and compatible lug nuts. A tire already mounted on a wheel is not automatically a fit for your cart. Use the tire fit-check guide or aftermarket-parts checks if you are still choosing parts.
Stop if you cannot identify the approved lifting points or wheel specification. E-Z-GO warns that incorrect tire size or installation can affect handling, and that the jack and stands must be placed only at the illustrated locations. E-Z-GO owner’s manual, pp. 28–30
Remove and replace the wheel assembly
1. Secure and disable the cart
Work on a firm, level surface with no passengers or cargo aboard. Secure the parking brake as directed by the manual, switch the key off and remove it. Chock in front of and behind every wheel that will remain on the ground before changing maintenance switch settings or disconnecting power. Do not rely on the parking brake alone: E-Z-GO’s IntelliBrake system can release the brake when TOW is selected. E-Z-GO safety labels and lifting instructions, pp. 10–11 and 28
Follow the model’s maintenance power-isolation procedure. For example, the Express ELiTE manual labeled “Model Year 2025–Current” requires key OFF, TOW/STORAGE selected and the negative battery terminal disconnected before service. It also specifies insulated tools in the battery area and a face shield when working around the pack. These are model-specific instructions—not a universal lithium-cart disconnect procedure. If you cannot safely perform the required isolation, have the dealer handle the job. E-Z-GO maintenance safety, p. 25
2. Loosen the nuts without removing them
Remove any wheel cover needed to access the nuts. Where the manual specifies it, loosen the wheel nuts while the tire is still on the ground; leave them installed until the cart is supported. The 2024 Yamaha DR2 QuieTech procedure starts with blocked wheels and loosened nuts before jacking. Yamaha owner’s manual, p. 42
3. Lift and support at the approved points
Follow your manual’s front- or rear-lifting procedure. Position the stands at the designated support points, lower the cart onto them and confirm stability before removing the wheel.
Do not work with the cart supported only by the jack, and never get underneath it on a jack alone. If a stand shifts or the cart is unstable, stop. E-Z-GO lifting instructions, p. 28
4. Remove the assembly and inspect the mounting area
Remove the nuts and pull the assembly off the hub. Check for damaged studs, stripped nuts, cracks or distorted wheel holes before reusing parts. Remove loose dirt from the mating surfaces so the replacement can sit flush.
If the wheel is seized to the hub, or hardware is damaged, stop rather than using force that could destabilize the cart. If replacing only the rubber tire, take the removed assembly to the tire shop now.
5. Refit and tighten in a cross pattern
Place the confirmed assembly on the hub. Start every nut by hand; stop if a nut binds instead of forcing it with a wrench. Make sure the wheel sits evenly against the hub.
Tighten opposite nuts in a cross pattern, progressively, using the specified torque and installation procedure. E-Z-GO’s Express ELiTE instructions call for the valve stem facing outward, finger-tight nuts and cross-pattern tightening in 20 lb-ft increments. E-Z-GO wheel installation, p. 31
There is no single golf cart lug-nut torque:
| Documented cart | Wheel-nut torque |
|---|---|
| E-Z-GO Express 2/4/6 ELiTE, manual 10082881-B (labeled Model Year 2025–Current) | 65–85 lb-ft (88–115 Nm) |
| 2024 Yamaha DR2 QuieTech, gasoline | 74 lb-ft (100 Nm) |
These are examples from the named manuals, not specifications for every cart from those brands or a guarantee that future models will be unchanged. E-Z-GO, p. 31 · Yamaha, p. 42
6. Lower and check before driving
Use the manual’s lowering sequence, keeping the wheel chocks in place until the cart is secure on the ground. Complete any specified final torque check, then set cold tire pressure to the cart’s documented requirement—not an assumed universal PSI. The golf cart tire-pressure guide covers finding that value.
Restore the cart’s power and switch settings according to its manual. For the cited Express ELiTE, wait at least 30 seconds after reconnecting the battery or other wiring before moving the switch to RUN. Check braking before a slow test in a clear area. Stop for wheel wobble, rubbing, vibration or abnormal steering. Follow the cart and wheel manufacturers’ fastener-check schedule; the Express ELiTE chart calls for checking for loose or missing lug nuts before each ride. E-Z-GO maintenance safety and schedule, pp. 25–26